Glide Experts are skilled no code developers who build Glide apps professionally. Gideon Lahav has been an Expert for four years, building over 100 apps for more than 70 clients. In this series, he shares some of the things he has learned about how to build high-performing Glide apps for yourself or others.
One of the benefits of using a no code platform is security assurance. Custom development requires you to build and understand a myriad of security features and successfully program them into your apps. With no code, you get the benefit of an entire team of engineers keeping your app’s baseline security consistently up to date, including things like SOC 2 Type 2 certification.
However, there is still a lot you can do to ensure you have strong data security, privacy, and access control. By default, all information in a Glide app is accessible to any user. If you have a public app, your information is visible to anyone with the link. This is great if the intent of your app is to share information widely, but when you have data that needs to be more private, you’ll want to add layers of protection that make that data accessible only to the users who are allowed to see it.
This can include securing your app behind a login screen, creating different apps for different types of users, or even hiding and showing different information based on the user’s role.
In real life, this could look like building an app for your clients that only shows their specific data, and another app for your team to manage work for those clients. In that internal app, you can restrict edit access and visibility based on the role of your employee or their team, while giving managers admin access to all of the information they need to make top-level decisions. This has the knock-off effect of making your apps faster and more efficient - read Gideon’s guide to Building Glide Apps for Speed and Scale for more details.
Here is his best advice on how to execute app security.
5 best practices for building secure Glide apps
In this article, I will explore the key security best practices for building applications using Glide. While Glide offers strong foundational security features like SOC 2 certifications that ensure strong baseline security for your app, developers should also implement additional methods.
I will explain each method, provide use cases, and guide you step-by-step through setting them up, helping you protect sensitive data and maintain user trust.
Each method provides a specific layer of security tailored to different app needs and user types. Implementing these techniques helps you enhance data protection, simplify user management, and comply with legal standards. The article details use cases and step-by-step instructions for each method.
This article outlines five essential methods for securing Glide apps:
Row Owners - Restricts access to specific data rows by individual email, ensuring that only assigned users can view or modify their data. This is an “individual” restriction method.
Roles - Manages permissions by assigning different levels of access to users based on their role or company. This is a “multiple users” restriction method.
Separated Apps - Creates distinct apps for different user groups, such as management and clients, while using a shared database.
External Database Integration - Adds redundancy and backups for critical data using external tools like Make or Zapier.
User Agreements - Ensures legal compliance and transparency by adding a user consent process during login.
1. Row Owners
Row Owners in Glide allow you to control who can access specific data by assigning rows of data to individual users. This method is essential for maintaining data privacy, especially when dealing with sensitive information. Only authorized users can access data related to their row, ensuring a secure and tailored experience for each user.
Use Case: Imagine a customer relationship management (CRM) app where sales agents need to access only their client list. By assigning them as row owners, they can only view their clients and cannot access data assigned to other agents.
Setup Steps:
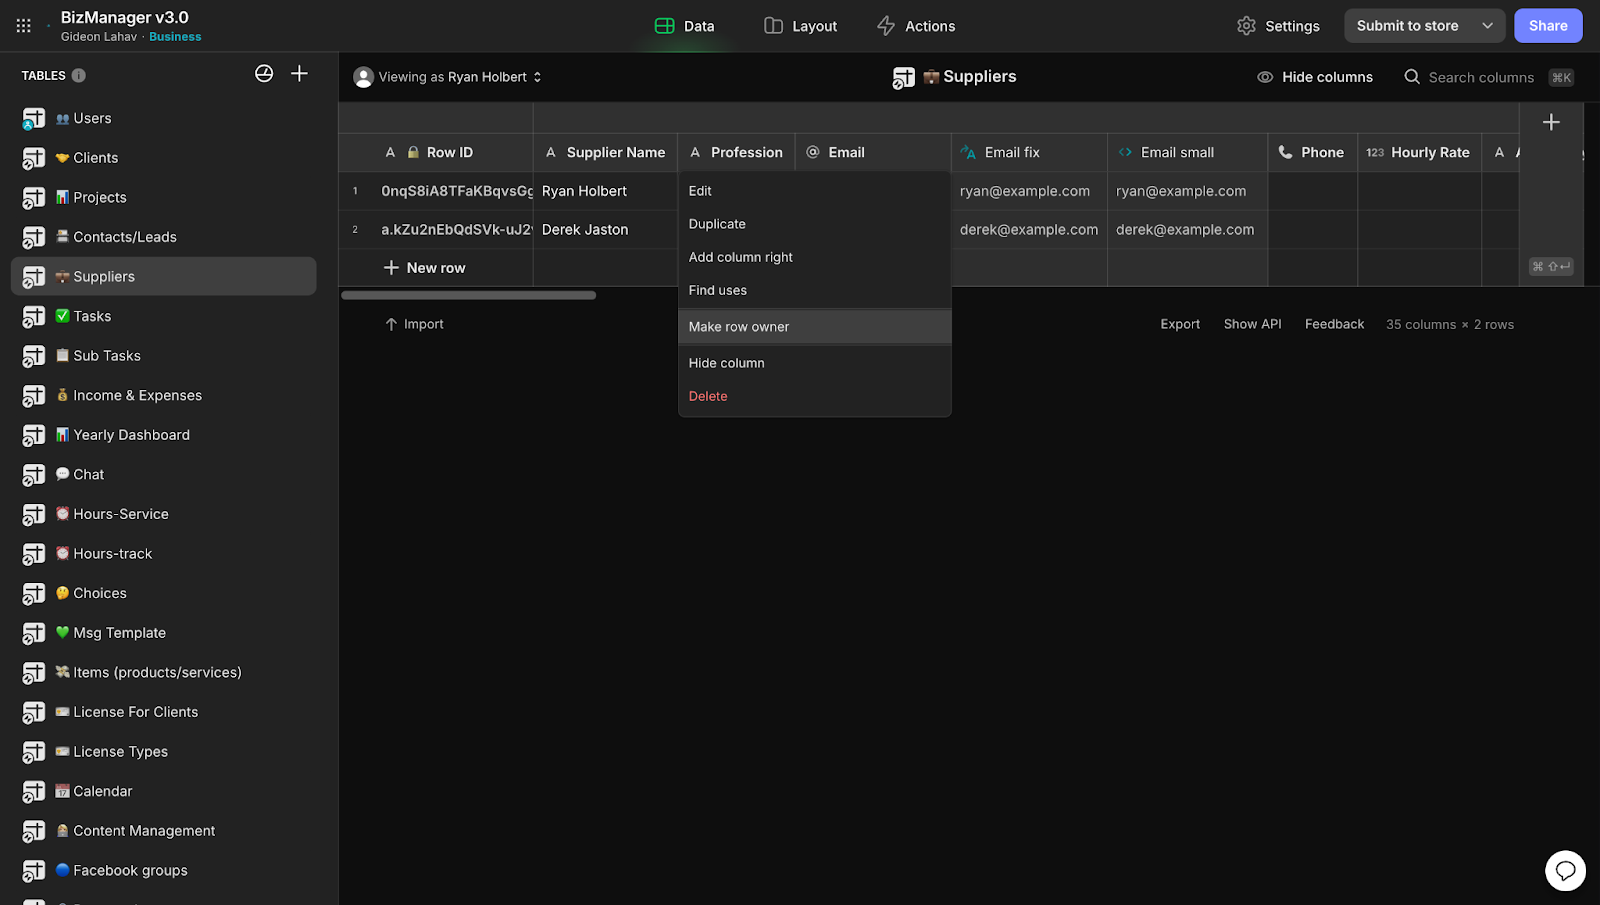
Open your Glide app and go to the "Data" tab.
In your data table, create a column for "Row Owner," typically an email field.
Assign the email of the user who should own the data row in this column.
Enable "Row Owners" by clicking on the "three dots" menu in the column header and selecting “Enable Row Owners.”
Glide will automatically restrict access, ensuring only the assigned owner can view or edit the row.
2. Roles
Roles allow you to control which parts of your app users can access based on their designated roles, such as "Admin," "Editor," or "Viewer." This feature is vital for larger teams or enterprises that need to manage varying levels of access securely.
Use Case: In a project management app, managers need full access, while team members only need permission to view their assigned tasks. Assigning roles enables you to limit who can add, edit, or view different parts of the app.
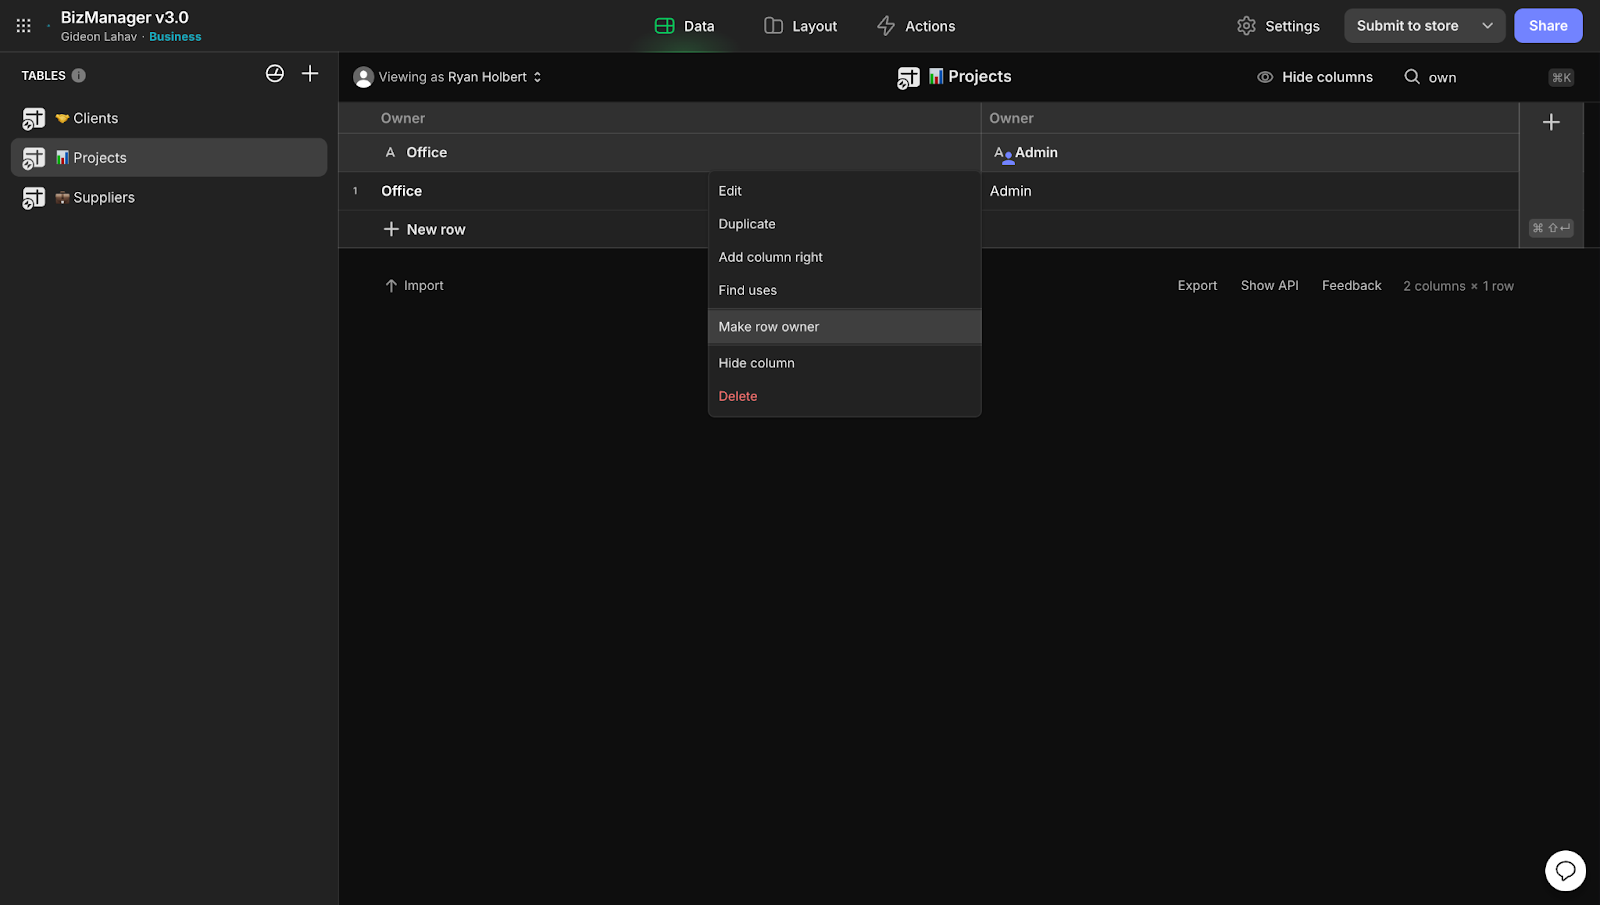
In the image below, you can see that there are two columns for row owners. One is for “admin”, which we will put on all the rows since admins need to access everything. The second is the “office” role, which we will put only on active clients that the office needs to see. Once a client’s project is finished, we will remove “office” from them so the active view is not cluttered.
Note that to have multiple owners on the same row, we will need to separate columns for each role.
Setup Steps:
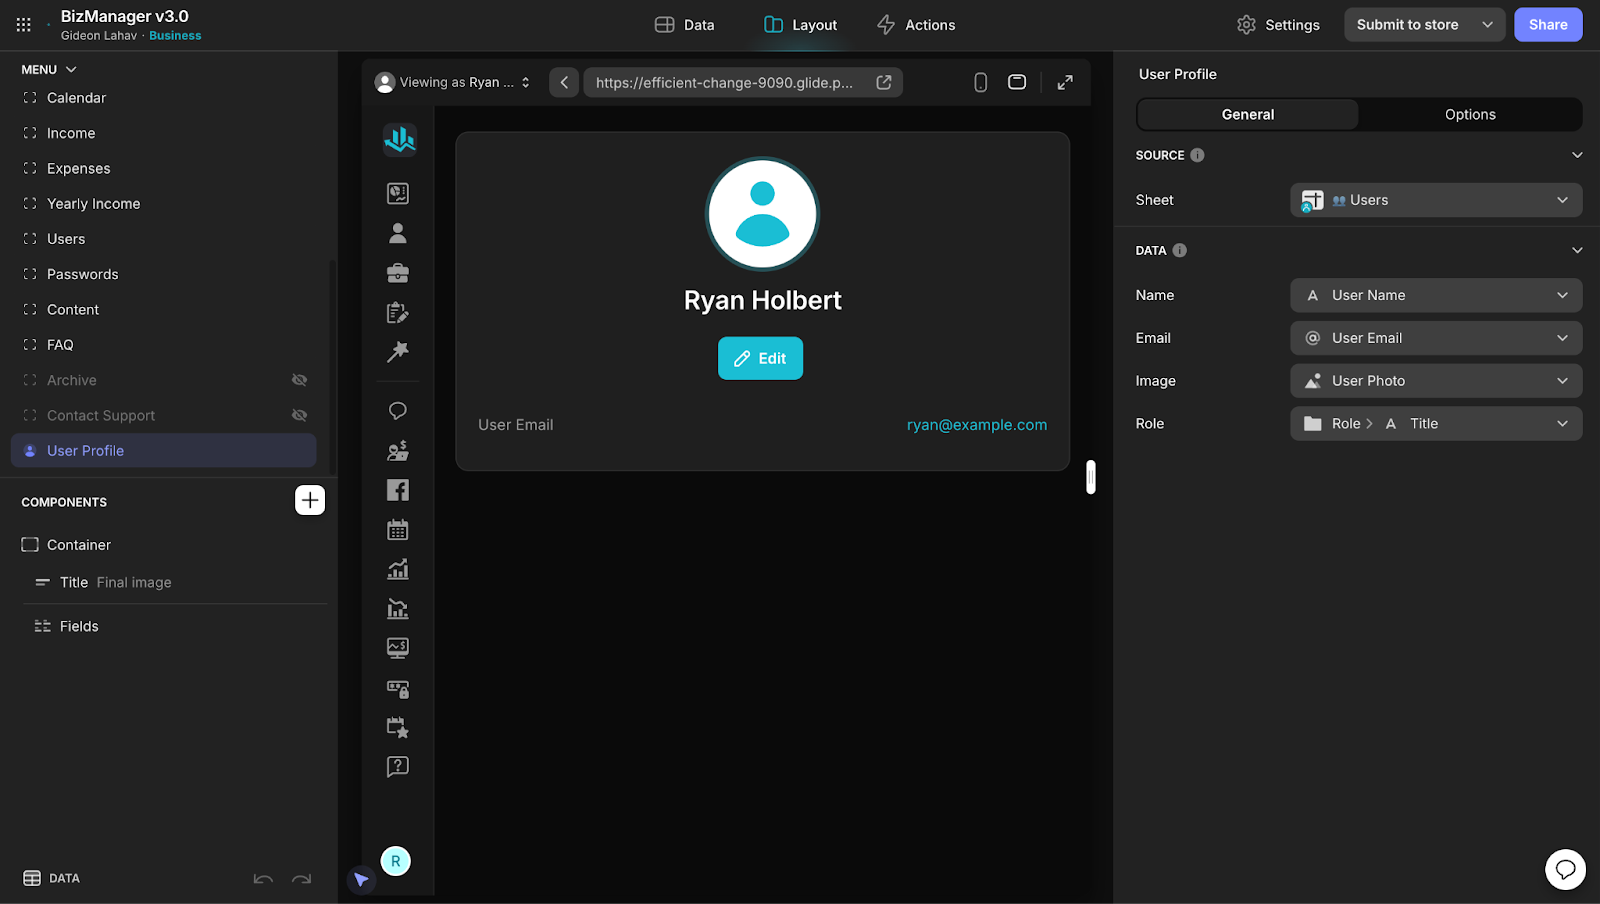
Go to the "Users" tab in your app’s settings and add a “Role” column.
Assign roles such as "Admin," "Manager," or "User" to the appropriate users.
In the app editor, use visibility conditions to show or hide components based on user roles. For example, a manager may have visibility over team performance, while team members only see their personal tasks.
Customize the app’s permissions based on role levels to control access to editing, viewing, or submitting data.
3. Separated Apps for Different User Types
When managing multiple user types, such as managers, clients, and freelancers, it is often better to create separate apps connected to the same database. This way, each user group has its own interface, with restricted access to data that is relevant to them.
Use Case: In an organization, management needs full access to financial data, while clients should only see progress reports. By creating different apps for each, you ensure that management and clients are not accessing the same information.
Setup Steps:
Start by building the main app and its data structure.
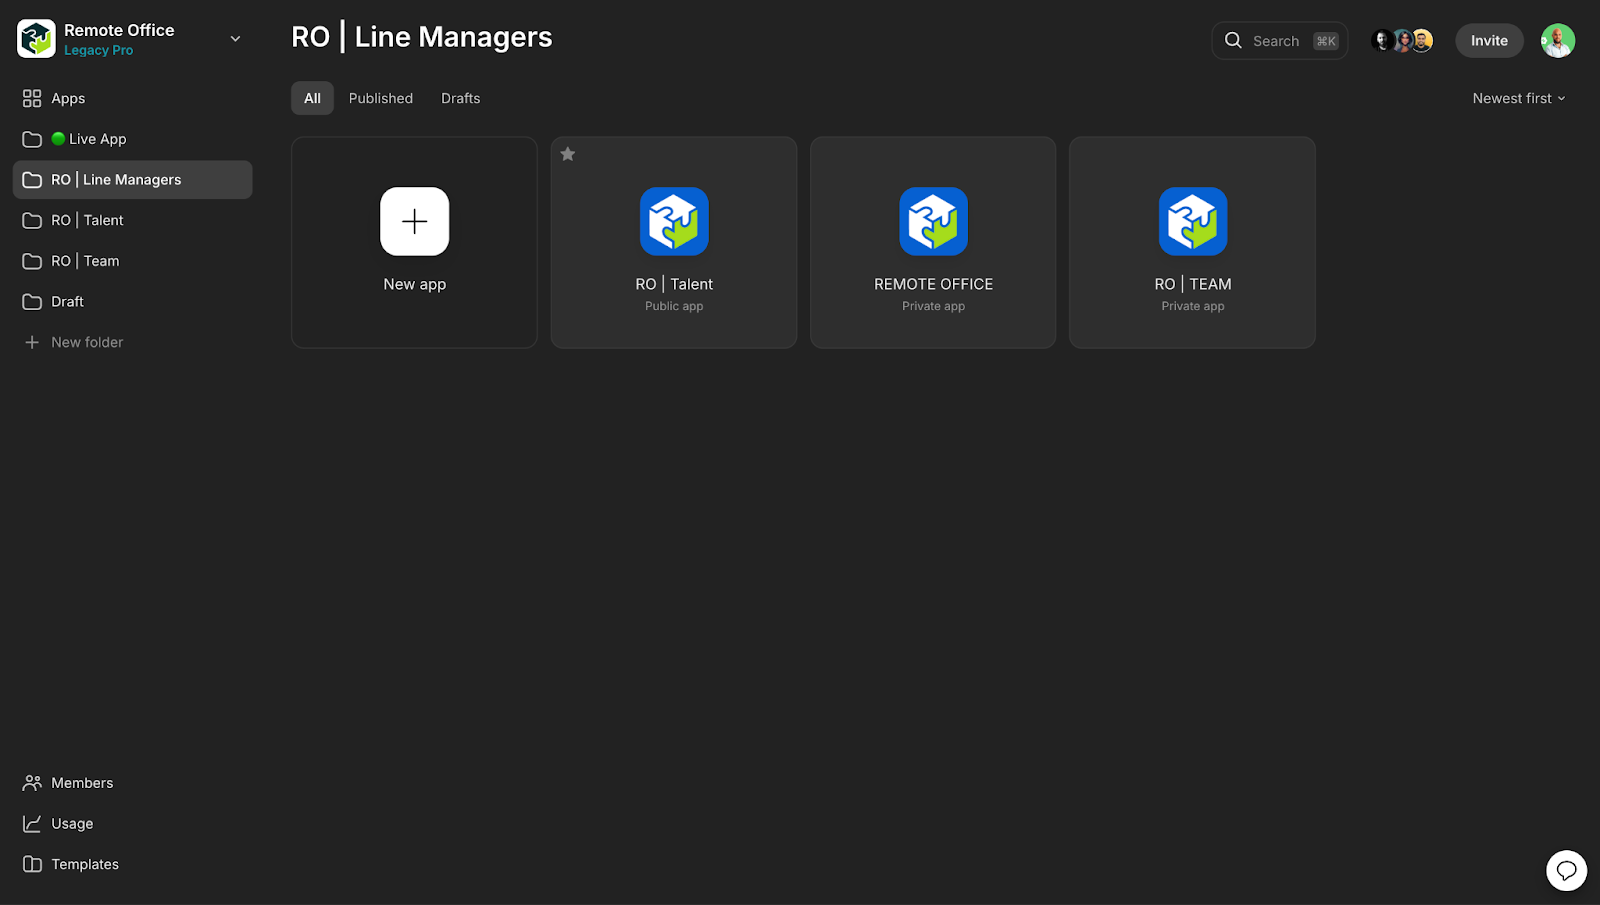
Duplicate the app for each user group, such as "Management," "Clients," and "Freelancers."
Customize each app’s visibility and access controls to display only the necessary data for that group.
Ensure that privacy settings are aligned with each app’s table, so users from one app cannot access the other’s data.
Maintain a single database so that all updates sync across apps, while users remain in their separate interfaces.
4. External Database Integration with Make or Zapier
Using external services like Make or Zapier to sync data with an external Google Sheet or database adds an extra layer of security. It allows for automatic data backups or the handling of critical information that should not reside permanently in Glide.
Use Case: A company handling sensitive legal data may want to back up records outside of Glide for redundancy. By setting up an automated process to store this information in Google Sheets, you prevent data loss even if records are deleted from Glide.
Setup Steps:
Sign up for Make (formerly Integromat) or Zapier, you can use a “free account” for small databases.
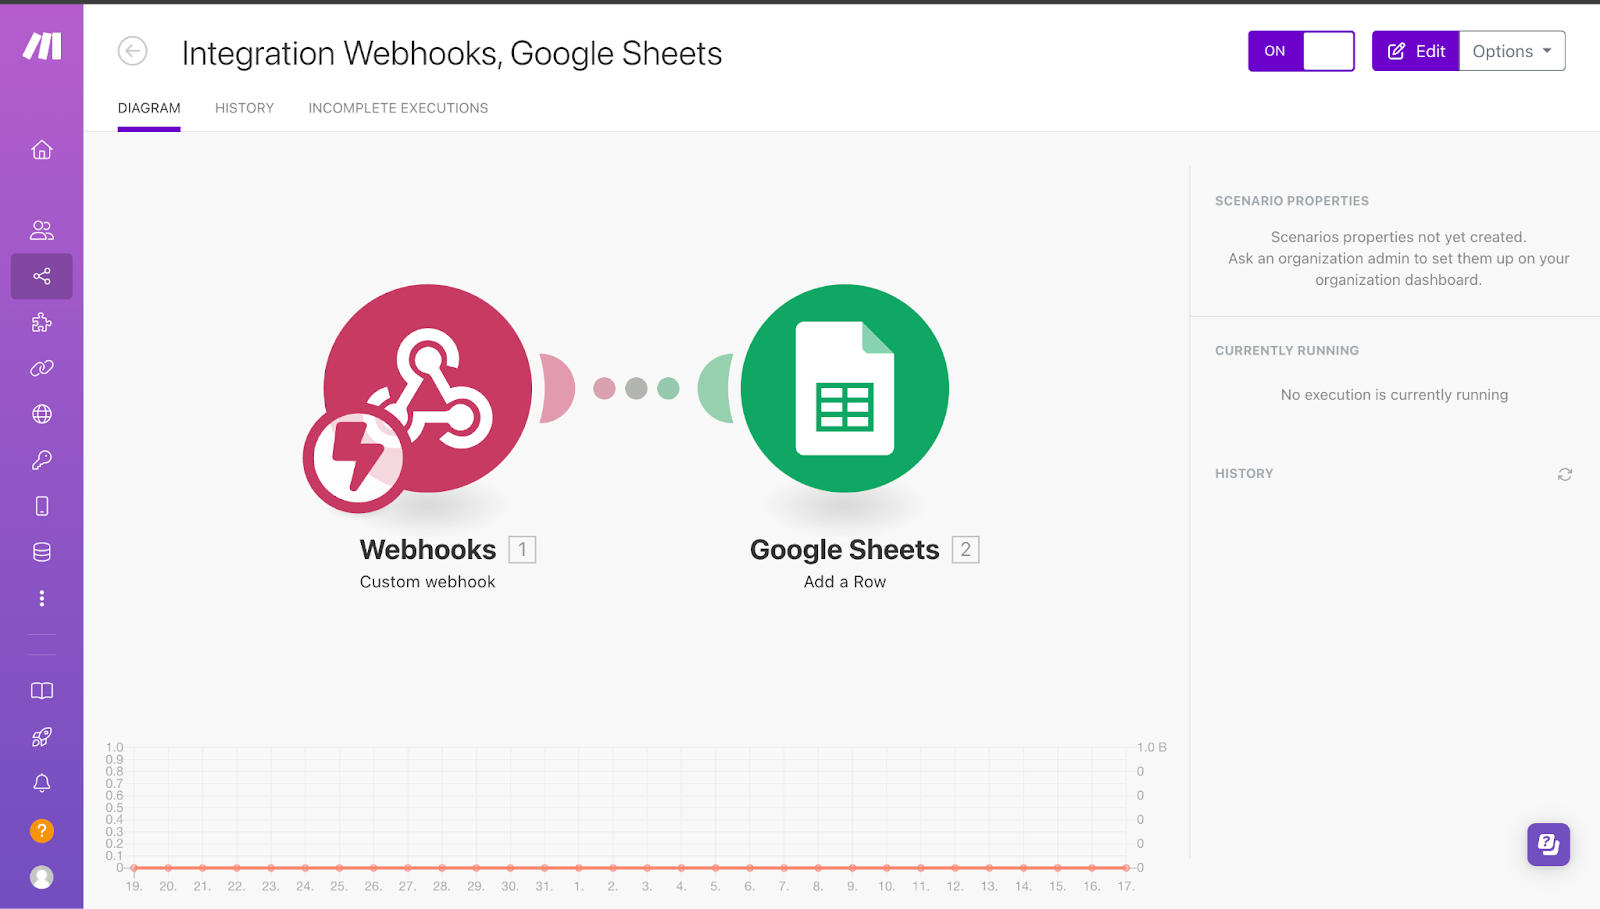
Create an automation that triggers when a new row is added in Glide.
Set the action to copy this data into an external Google Sheet or another database. When adding data to the application, set a "trigger webhook" action to the "submit" button on a form so you add the row twice: once to the app and once to the external data sheet.
Test the integration to ensure data flows automatically between Glide and your external source.
Use this method for storing sensitive or critical data that requires external backups or longer retention.
5. User Agreement Documentation
Adding a user agreement during the login process ensures users are informed of how their data will be used. This practice helps maintain transparency, protect against legal issues, and foster user trust. It can be a good idea to consult a lawyer who specializes in web agreements to help with creating your agreement.
Use Case: An app collecting personal information should have a consent form where users agree to how their data will be used, ensuring compliance with regulations like GDPR.
Setup Steps:
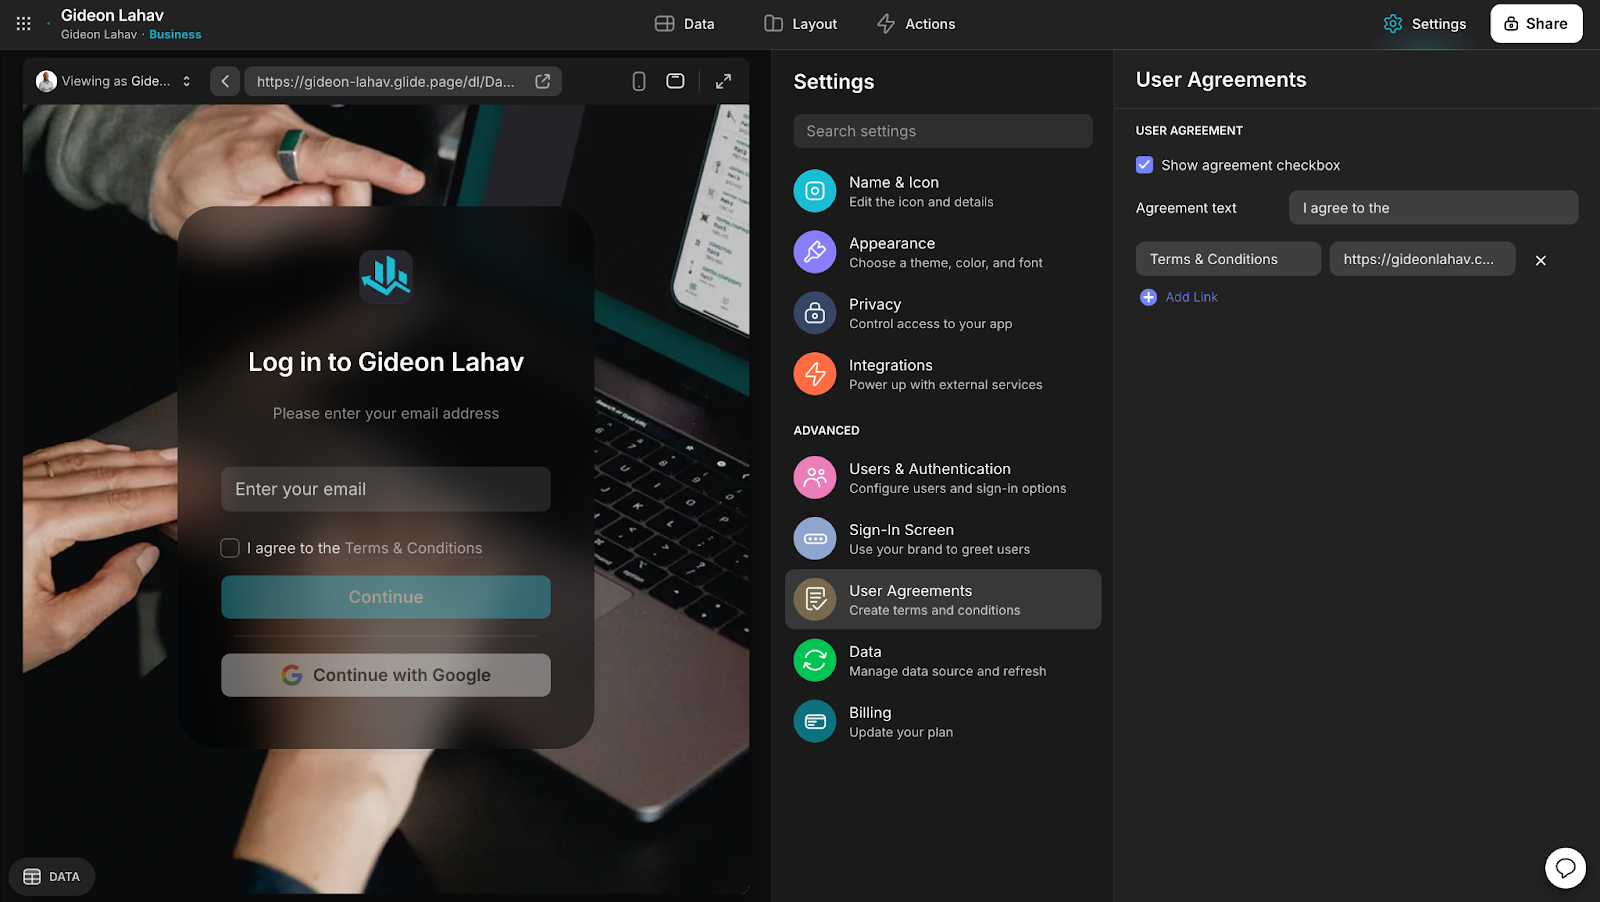
Create a user agreement in Google Docs or another document-sharing service (You can also use existing terms from your site if you have it).
In the login screen of your app, add a link to this document or a checkbox for users to agree to the terms.
Ensure that users cannot proceed without agreeing to the terms.
6. Handling Sensitive Information
Handling sensitive data such as passwords or medical information requires special care. In most cases, it's best to avoid storing such information unless absolutely necessary. If storing it is unavoidable, strong encryption and Row Owners should be used to limit access.
Use Case: A healthcare app that stores medical records must ensure only authorized personnel can access patient data. By encrypting the data and assigning Row Owners, you prevent unauthorized access to sensitive health information.
Setup Steps:
Minimize the storage of sensitive information whenever possible.
Use Row Owners to restrict access to sensitive data.
Separate your apps for clients and Admin for best security measures.
Regularly review and audit your app’s security settings to ensure they comply with data protection laws.
Security Method Cheat Sheet
Method | Best Used For | Strength |
|---|---|---|
Row Owners | Personal or sensitive data that needs restricted access | High – Limits access to specific users |
Roles | Apps with multiple user types, each with varying access needs | Moderate – Controls user access based on roles |
Separated Apps | Different user groups needing isolated environments | High – Isolates data across user types |
External Database Integration | Critical data backups or legal records that require redundancy | High – Provides data retention outside of Glide |
User Agreement Documentation | Legal compliance and transparency with users | Moderate – Ensures informed user consent |
Handling Sensitive Information | Storing or managing highly sensitive data like passwords | High – Use only if absolutely necessary and encrypted |
Build apps, with full security control
Building secure apps on Glide requires careful planning and implementation of security features. By using these best practices, you can create a secure, compliant, and trustworthy app that safeguards your users' data.
For other Experts building for clients in Glide, these security practices will help you create more professional apps and will ensure you keep your clients' trust and confidence throughout your working relationship.
For those of you building apps for your own business, these steps will help you create tools that are more flexible and use Glide for a broader range of tasks across your organization while gaining more control over your data and security.
If you find yourself having security questions or concerns, reaching out to an expert is a great strategy. They can consult short-term to help you put your final security features into place, or you can form a long-term professional relationship with an Expert who can both advise and help you execute the apps you need to build for your business.