Introduction to Actions
Actions allow users to change data in your app through interaction. There are many different ways to add Actions to a Glide app. You can attach them to components that support actions, like buttons, or customize what happens when users finish a form or click an item in a collection. You can even create workflows that combine several action steps together into a sequence.
Types of Actions
There are two main types of actions: Integration Actions and Glide Actions.
Integration Actions
Most Integrations come with actions that you can trigger in Glide. For example, the Slack integration makes it possible for you to trigger a Slack notification from a Glide Action.
To learn more about Integrations, check out our Integrations Docs.
Glide Actions
Glide Actions are native actions that can be done within a Glide app. Examples include adding a row, opening a link, navigating to a tab, and returning to a previous screen. Mostly, they fall into four categories:
- Data
- Navigation
- Communication
- Advanced
Data Actions use or change data. These include things like
Navigation Actions show or move users to different screens. For example:
Communication Actions trigger things like sending emails, text messages, or making phone calls.
Creating Actions
Some actions are created when first configuring a component, if it’s a component that supports actions. These actions will be configured in the right-hand panel of the configuration screen for the component. Other actions are set up in the Workflow Editor as steps in a larger workflow.
Component actions
Some Components have actions, and some don’t. If a component has the option for an action, you’ll see it in the component’s configuration.
For some components, like the Collection component, you can add multiple actions.
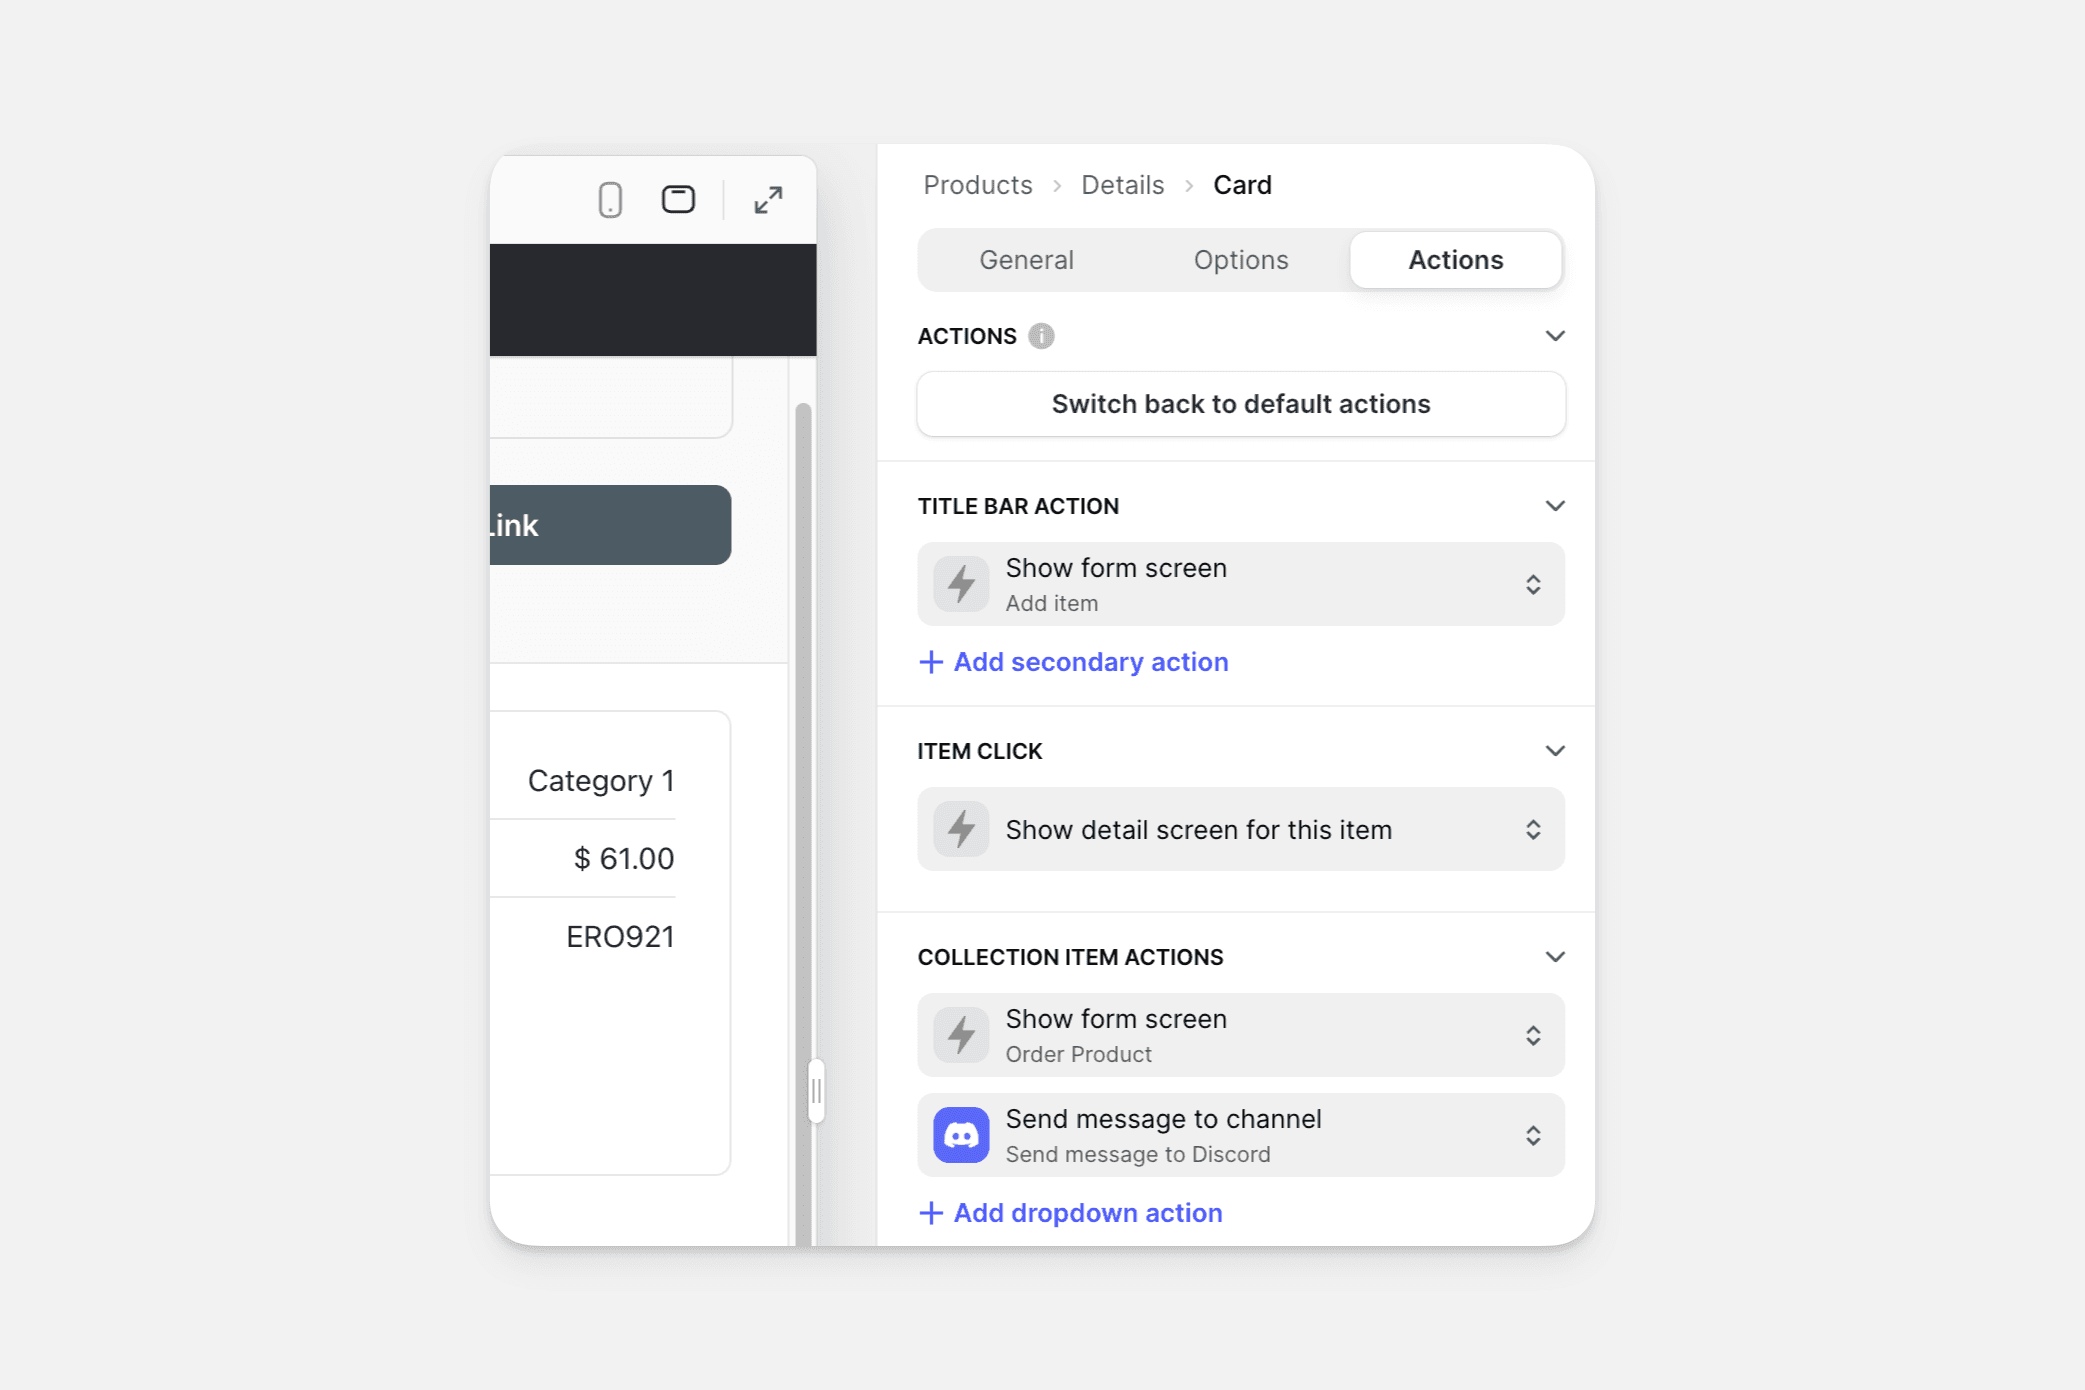
Item Click Actions
The default action for clicking on a collection item is to view that item’s Detail Screen. However, you can change this to a number of other actions. For example, you could:
- Trigger the Dial Phone Number Action when a list of contacts is tapped.
- Change the number in the inventory when inventory items are tapped.
After Submit Actions
You can add actions that trigger when users add, edit, or submit forms.
For example, you could create an action that notifies your Slack channel every time a form is submitted.
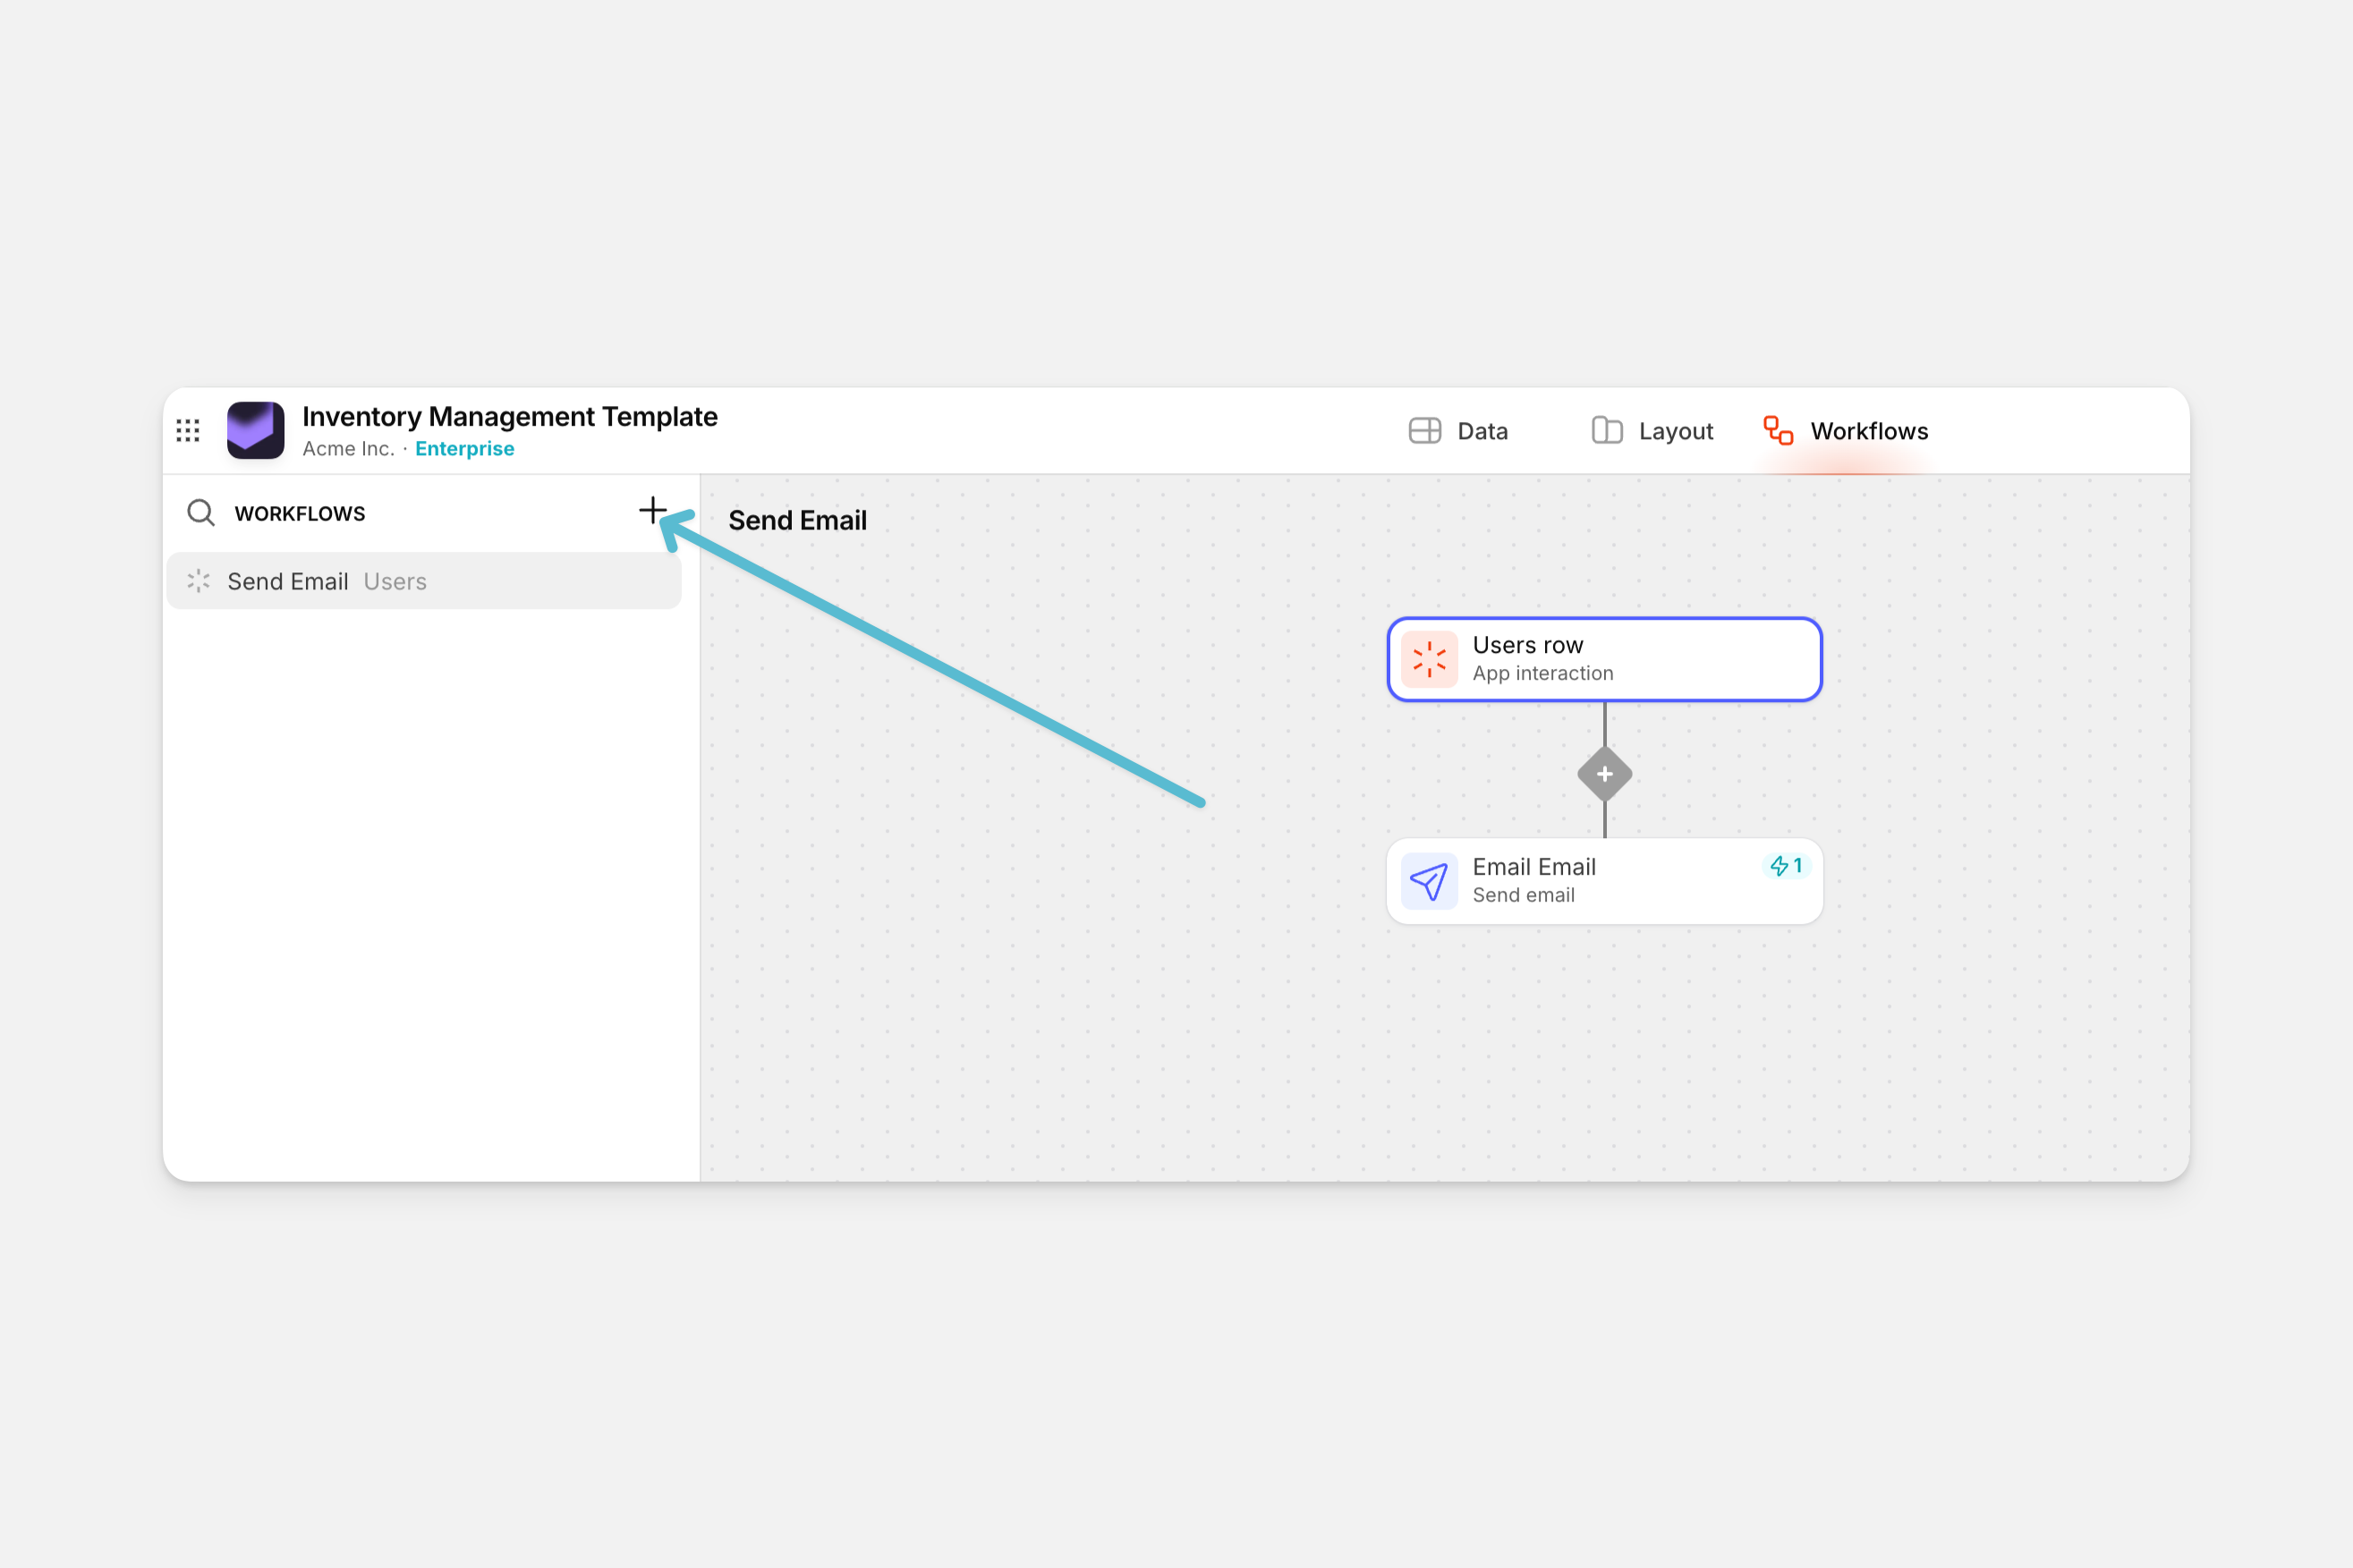
Actions in the Workflow Editor
The Workflow Editor is where you can string actions together into more complicated workflows. If your app already has actions or you’ve created actions in the Layout Editor, they will automatically be listed in the left sidebar.
To create a new workflow, click the plus (+) icon in the top left corner. Glide will ask if this workflow will be triggered by user interaction with your app, or if it will be scheduled to run automatically. Next, choose a data source table—this is the table that will be altered when users engage with the action. Click the default action to change it and configure a new action step.